Decorating cupcakes is an art that combines creativity with culinary skill, transforming simple baked goods into visually stunning treats.
Whether you’re a seasoned or novice cupcake decorator, mastering the art of cupcake decoration can turn your favourite cupcake recipes into beautiful creations.
Starting with the Basics: Cupcake and Frosting Recipes
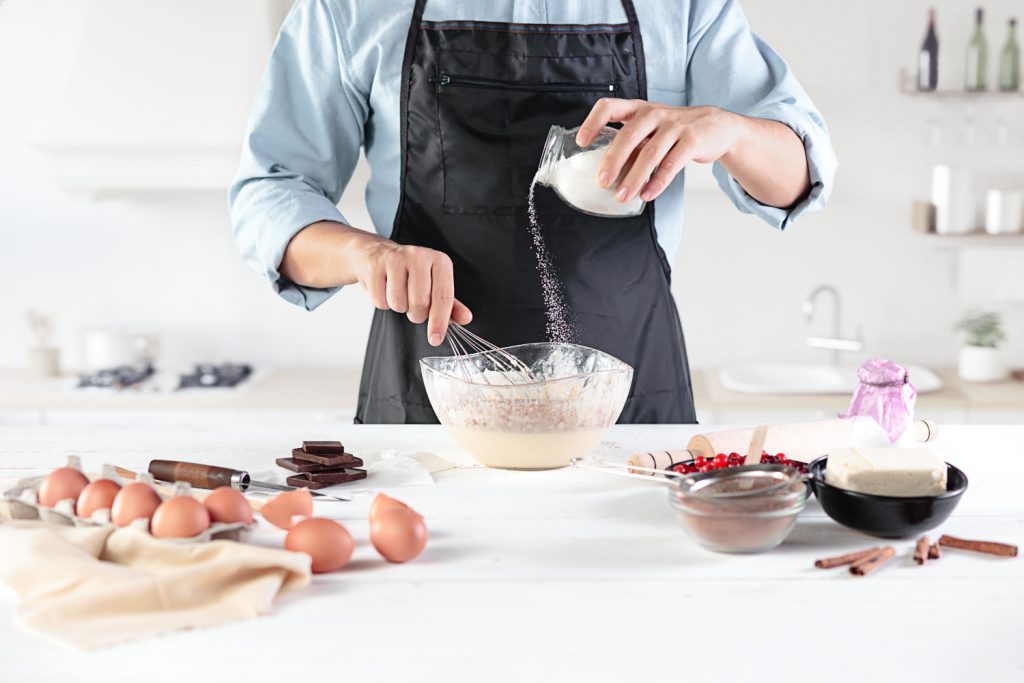
Before diving into decorating, it’s essential to have a solid foundation. A moist and fluffy vanilla cupcake recipe is a versatile base for any decoration. You can find a great guide on creating fluffy bases here.
Pairing it with a smooth buttercream recipe or rich chocolate ganache can set the stage for intricate designs. The consistency of your cupcake frosting is key, as it should be firm enough to hold its shape yet soft enough to pipe smoothly.
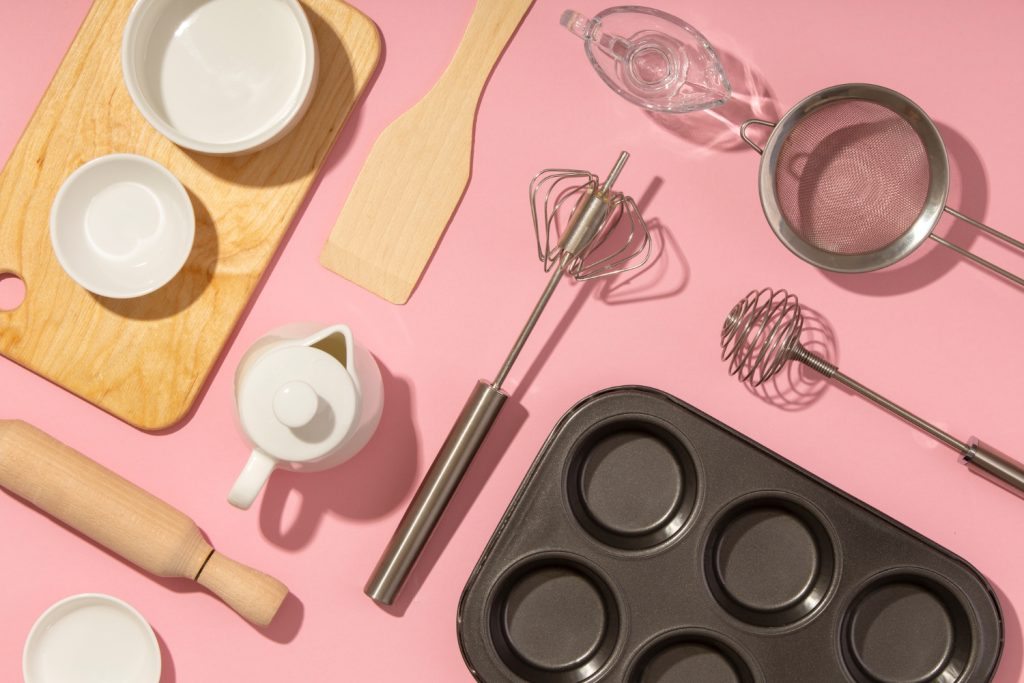
Step 1: Gathering Your Tools
Piping Bags: These are the bags you’ll fill with frosting to pipe onto your cupcakes. They can be reusable (fabric, nylon, or silicone) or disposable (plastic).
Piping Tips: These metal or plastic nozzles attach to the end of your piping bag and shape the frosting as you pipe it. Start with a basic round tip for simple dots and lines, and a closed star tip for creating swirls and stars.
Couplers: These are optional but useful. A coupler allows you to change the tip without changing the bag, making it easy to switch between designs with the same color of frosting.
Bag Ties or Rubber Bands: These are used to secure the open end of the piping bag to prevent frosting from leaking out the wrong end.
Step 2: Preparing Your Piping Bag
Insert the Coupler (if using): Trim the end of your piping bag so that about half of the coupler’s threads are visible when inserted. Screw the tip onto the coupler outside the bag.
Fill the Bag: Spoon frosting into the bag until it’s about half full. Overfilling makes it harder to control.
Remove Air Bubbles: Push the frosting down towards the tip and twist the open end of the bag to close it. Gently squeeze the bag until frosting begins to emerge, ensuring any air pockets are removed.
Secure the Bag: Use a bag tie or rubber band to secure the twisted end of the bag. This prevents frosting from coming out the back as you pipe.
Step 3: Practicing Your Technique
Prepare Your Practice Surface: Lay down a sheet of waxed paper on a flat surface. This will be your practice area.
Testing Pressure: Gently squeeze the piping bag until the frosting comes out. Practice applying consistent pressure to achieve an even flow.
Practice Basic Shapes: Start with simple lines and dots. Hold the bag vertically for dots and at a slight angle for lines.
Try Different Patterns: Use the round tip to practice lines, dots, and even letters. Switch to the closed star tip to practice stars and rosettes. To make a swirl, start at the outer edge and spiral inward, then lift the tip quickly to finish.
Adjust as Needed: If the frosting is too stiff and hard to pipe, you may need to thin it slightly with a little milk or water. If it’s too runny, thicken it with more powdered sugar.
Step 4: Decorating Your Cupcakes
Prepare Your Cupcakes: Ensure your cupcakes are completely cooled before you start decorating.
Choose Your Design: Decide on the design you want to create on your cupcakes. A simple swirl, rosettes, or even a combination of dots and stars are great for beginners.
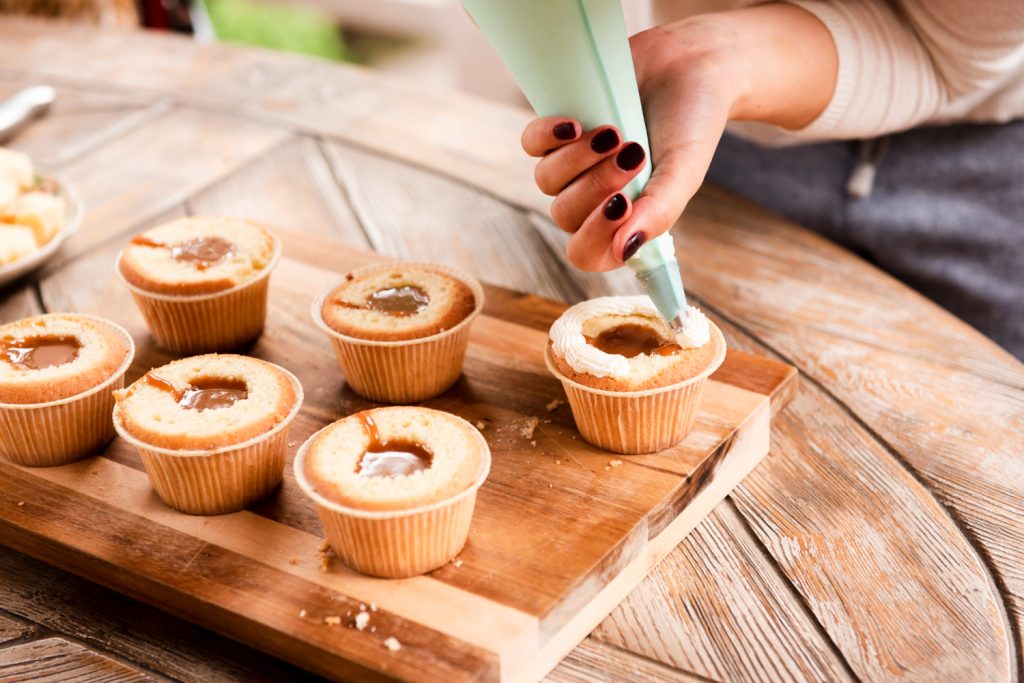
Start Piping: Hold the bag at a 90-degree angle for a swirl, starting at the outer edge of the cupcake. Apply steady pressure to the bag and create a spiral towards the center. Release pressure and pull the tip away to finish.
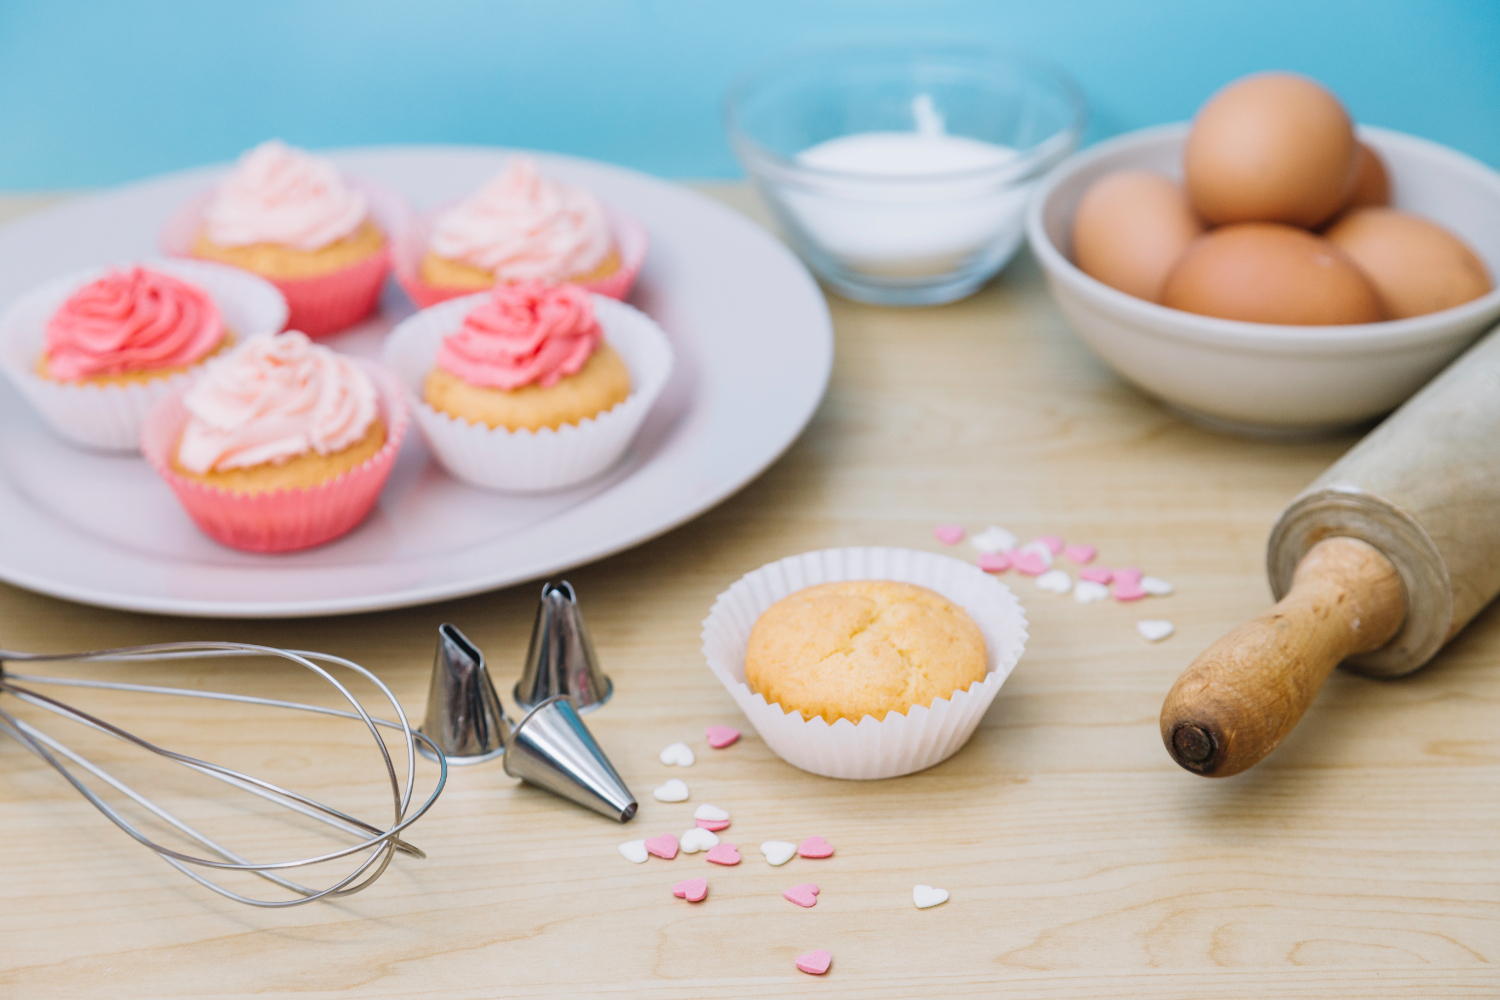
Add Finishing Touches: Decorate with sprinkles, edible glitter, or any other decorations immediately after piping while the frosting is still soft.
Step 5: Clean Up and Storage
Cleaning: Wash reusable bags and tips in warm soapy water. Disposable bags can be tossed after use.
Storing Leftover Frosting: If you have leftover frosting, it can usually be stored in the refrigerator for a few days or frozen for longer storage.
Creative Techniques and Designs
Classic Swirls and Roses: With a closed star tip, you can create the classic swirl, a simple yet elegant design that works well with any frosting. For something a bit more intricate, a petal tip can pipe frosting in a way that resembles a rose, starting from the centre of the cupcake and working outward.
Themed Decorations: For themed cupcakes, consider using colours and toppers that match your theme. A pastry tip can be used to pipe cupcakes with specific shapes, like stars for a night-themed party or hearts for Valentine’s Day. Adding a cupcake topper, such as a small flag or character, can also enhance the theme.
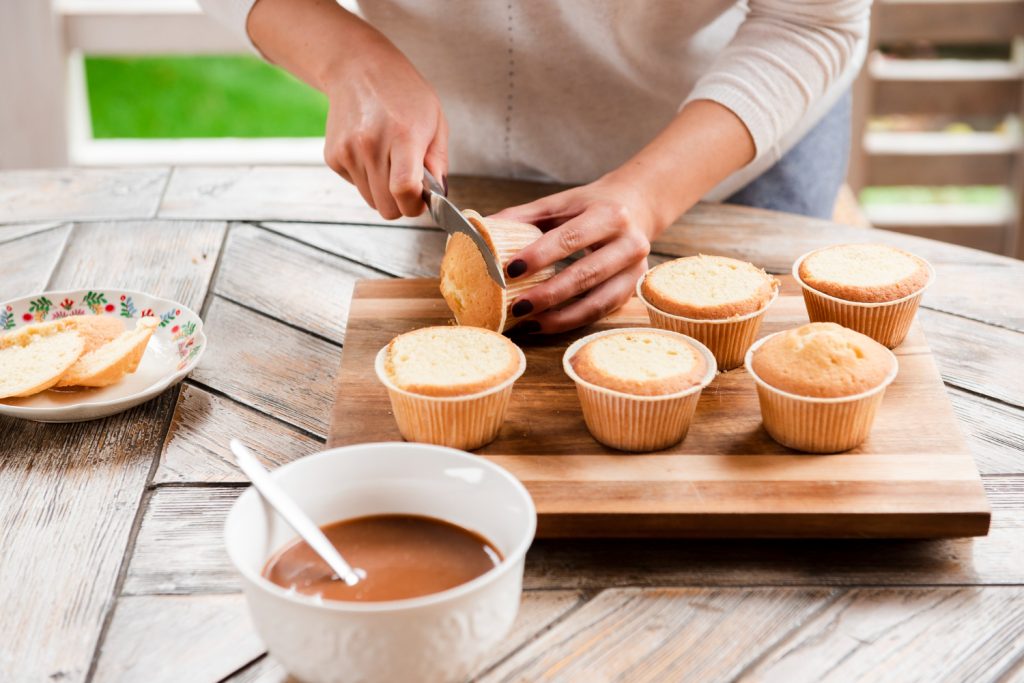
Incorporating Ingredients for Texture and Flavor: Chopped chocolate, crushed peanuts, or cookie crumbs can be sprinkled on top of frosted cupcakes for added texture and flavour. A peanut butter cup, placed in the centre of the cupcake before baking, surprises guests with a delicious filling.
Advanced Techniques: For those looking to elevate their decorating skills, techniques like using melted chocolate to create intricate designs or piping multiple colours of frosting with a single piping bag can add a wow factor to your cupcakes. Chocolate shavings, rainbow sprinkles, or even gold leaf can add a touch of elegance.
Colour Composition and Themes
When decorating cupcakes, considering colour composition is crucial. Using complementary colours can make your designs pop, while a monochromatic scheme can offer a sophisticated look. For instance, white chocolate drizzles on a dark chocolate ganache create a striking contrast, while pastel frostings can convey a soft, elegant vibe.
Themes can range from seasonal (think golden brown leaves for fall or bright, pastel colours for spring) to occasion-specific (weddings, birthdays, etc.). A frosted cupcake with a buttercream rose in soft hues might be perfect for a wedding, while cupcakes decorated with bright colours and rainbow sprinkles could be ideal for a child’s birthday party.
More Advanced Techniques
These techniques often involve a combination of detailed piping work, the use of fondant, and sometimes painting with edible colours. Here’s how you can expand your decorating repertoire:
Advanced Piping Techniques
Multi-Colour Swirls: To achieve a multi-coloured frosting effect, paint stripes of gel food colouring inside your piping bag before filling it with frosting. This technique creates a beautiful rainbow effect when you pipe the frosting onto your cupcakes.
Detailed Character Faces: Using a fine piping tip, such as a #1 or #2 round tip, you can pipe detailed character faces or intricate designs. Practice sketching the design on paper first, then use that as a guide to pipe onto the cupcakes. This requires a steady hand and patience.
Lace Patterns: With a very fine tip, you can create lace-like patterns on cupcakes. This involves piping small, interconnected lines and swirls to mimic the look of lace. It’s delicate work that adds an elegant touch to wedding cupcakes or other special occasions.
Working with Fondant
Rolled Fondant: To create smooth, 2D shapes or characters, roll out fondant to a thin layer and use cookie cutters or a sharp knife to cut out shapes. You can then paint these shapes with edible colours or layer them to create more detailed designs.
Modelling Fondant: For 3D figures or embellishments, use a modelling fondant that can be shaped and sculpted. Mixing tylose powder into your fondant can make it firmer and easier to work with for detailed figures.
Edible Paints: To add details to your fondant decorations, use edible paints or a small brush dipped in food colouring. This is great for adding facial features to characters or intricate patterns to fondant shapes.
Textured Techniques
Brush Embroidery: This technique involves piping a line with royal icing and then using a damp brush to pull the icing inward, creating a texture that resembles stitched embroidery. It’s particularly effective for adding floral designs to cupcakes.
Stencilling: Place a stencil over the cupcake and use a fine sieve to dust over coloured sugar, cocoa powder, or edible glitter. Remove the stencil to reveal the design. This is a quick way to add sophisticated designs to your cupcakes.
Hand Painting: With food-grade edible paints, you can directly paint on fondant-covered cupcakes. This is ideal for creating detailed scenes, portraits, or intricate patterns.
Incorporating Non-Edible Elements
Printed Toppers: For highly detailed and specific themes, like Disney princesses, consider using printed edible images as toppers. These can be placed on fondant or directly onto frosted cupcakes.
Themed Picks: While not edible, themed picks can be inserted into cupcakes for an instant decorative touch. Choose picks that match your party’s theme for a cohesive look.
Practice and Patience
The key to mastering these advanced techniques is practice. Begin by trying out each method on a flat surface or a dummy cake before moving on to actual cupcakes. Remember, patience is crucial, as some of these techniques require a delicate touch and time to dry or set.
By combining these advanced techniques with your foundational skills, you can create cupcakes that are true works of art, perfect for any event or occasion. Whether you’re aiming for the elegance of 2D fondant designs or the whimsical charm of Disney princess cupcakes, the possibilities are only limited by your imagination.
Advice On Baking
When embarking on the journey to decorate cupcakes, encountering a few hiccups along the way is part of the learning process.
Whether you’re a novice eager to try out your favourite cupcake recipes or a seasoned baker looking to perfect your technique, these troubleshooting tips will help you navigate common challenges in cupcake decorating.
Avoiding Common Mistakes
Ensure Cupcakes are Cooled: One of the cardinal rules in cupcake decorating is to wait until your cupcakes are completely cooled before starting to frost cupcakes. Applying frosting to warm cupcakes can lead to melting, resulting in a sloppy presentation.
Adjust Frosting Consistency: The consistency of your frosting is crucial for successful cupcake decorating. If your frosting is too stiff, it might not only make it hard to pipe but also could cause your pastry bag to burst under pressure. On the flip side, if the frosting is too runny, it will not hold its shape, making it difficult to achieve a neat frosting swirl or pipe frosting in intricate patterns. To correct this, add more powdered sugar to thicken the frosting or a bit of milk to thin it out, aiming for a texture that is easy to work with yet holds its form.
Use the Right Tools: Selecting the appropriate pastry tips and piping bags is essential. A variety of pastry tips can offer a range of possibilities, from creating a perfect cupcake center with a filling tip to adding delicate designs on the outer edge with a fine star tip. Ensure you’re comfortable with the piping bag and tips you choose; practice on wax paper before moving on to your cupcakes.
Practice Piping Technique: To achieve piped frosting that looks professional, practice your technique. Start by piping on wax paper to get a feel for the pressure needed to create smooth lines or a beautiful frosting swirl. Remember, the pressure applied to the pastry bag should be consistent to ensure an even flow of frosting.
Fixing Mistakes
Starting Over: If you’re not satisfied with how your cupcakes look, remember that it’s okay to start over. You can scrape off the piped frosting and try again. This is why it’s a good idea to have a few extra cupcakes on hand for practice. It allows you to fine-tune your technique without the pressure of having to get it right on the first go.
Adjusting Decorations: If the design isn’t coming out as expected, consider simplifying it. Sometimes, less is more. A single, well-executed frosting swirl in the center of the cupcake can look more elegant than a complicated design that didn’t turn out right.
Fixing Frosting Consistency: If, while decorating, you find your frosting becoming too stiff or too runny, don’t hesitate to adjust its consistency. Adding a little powdered sugar or milk incrementally can save your frosting from being unusable.
Repairing Cracks or Breaks: For fondant decorations or piped designs that crack or break, use a small dab of frosting as ‘glue’ to repair them. If the fondant decoration is too damaged, roll out a new piece and try again, using the failed attempt as a learning experience.
Need a Cake Quickly?
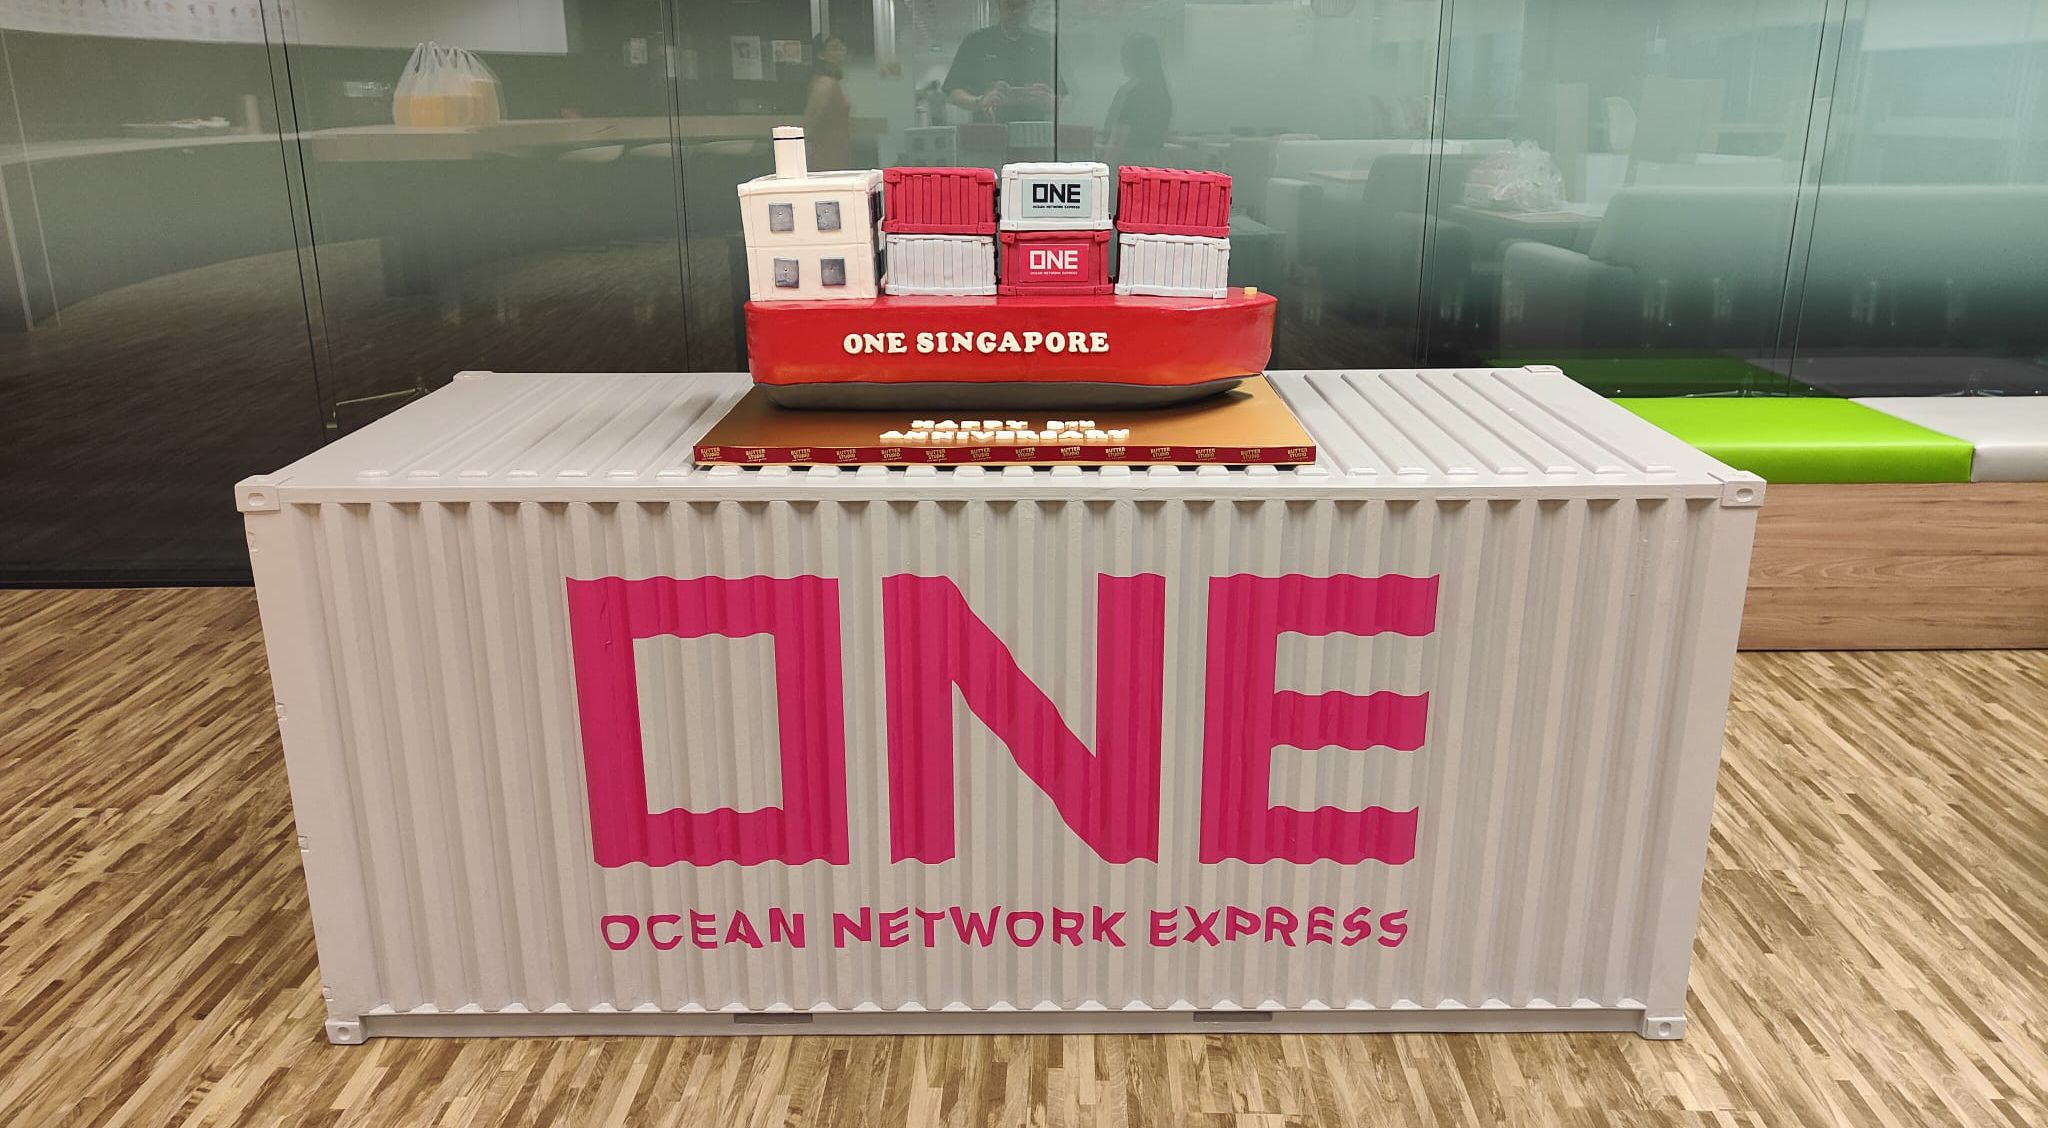
Baking a cake from scratch can be an arduous process. Incorporating advanced techniques for a desired can be time-consuming with many mistakes made. Hence it may be wiser to engage an experienced baker for your custom cake!
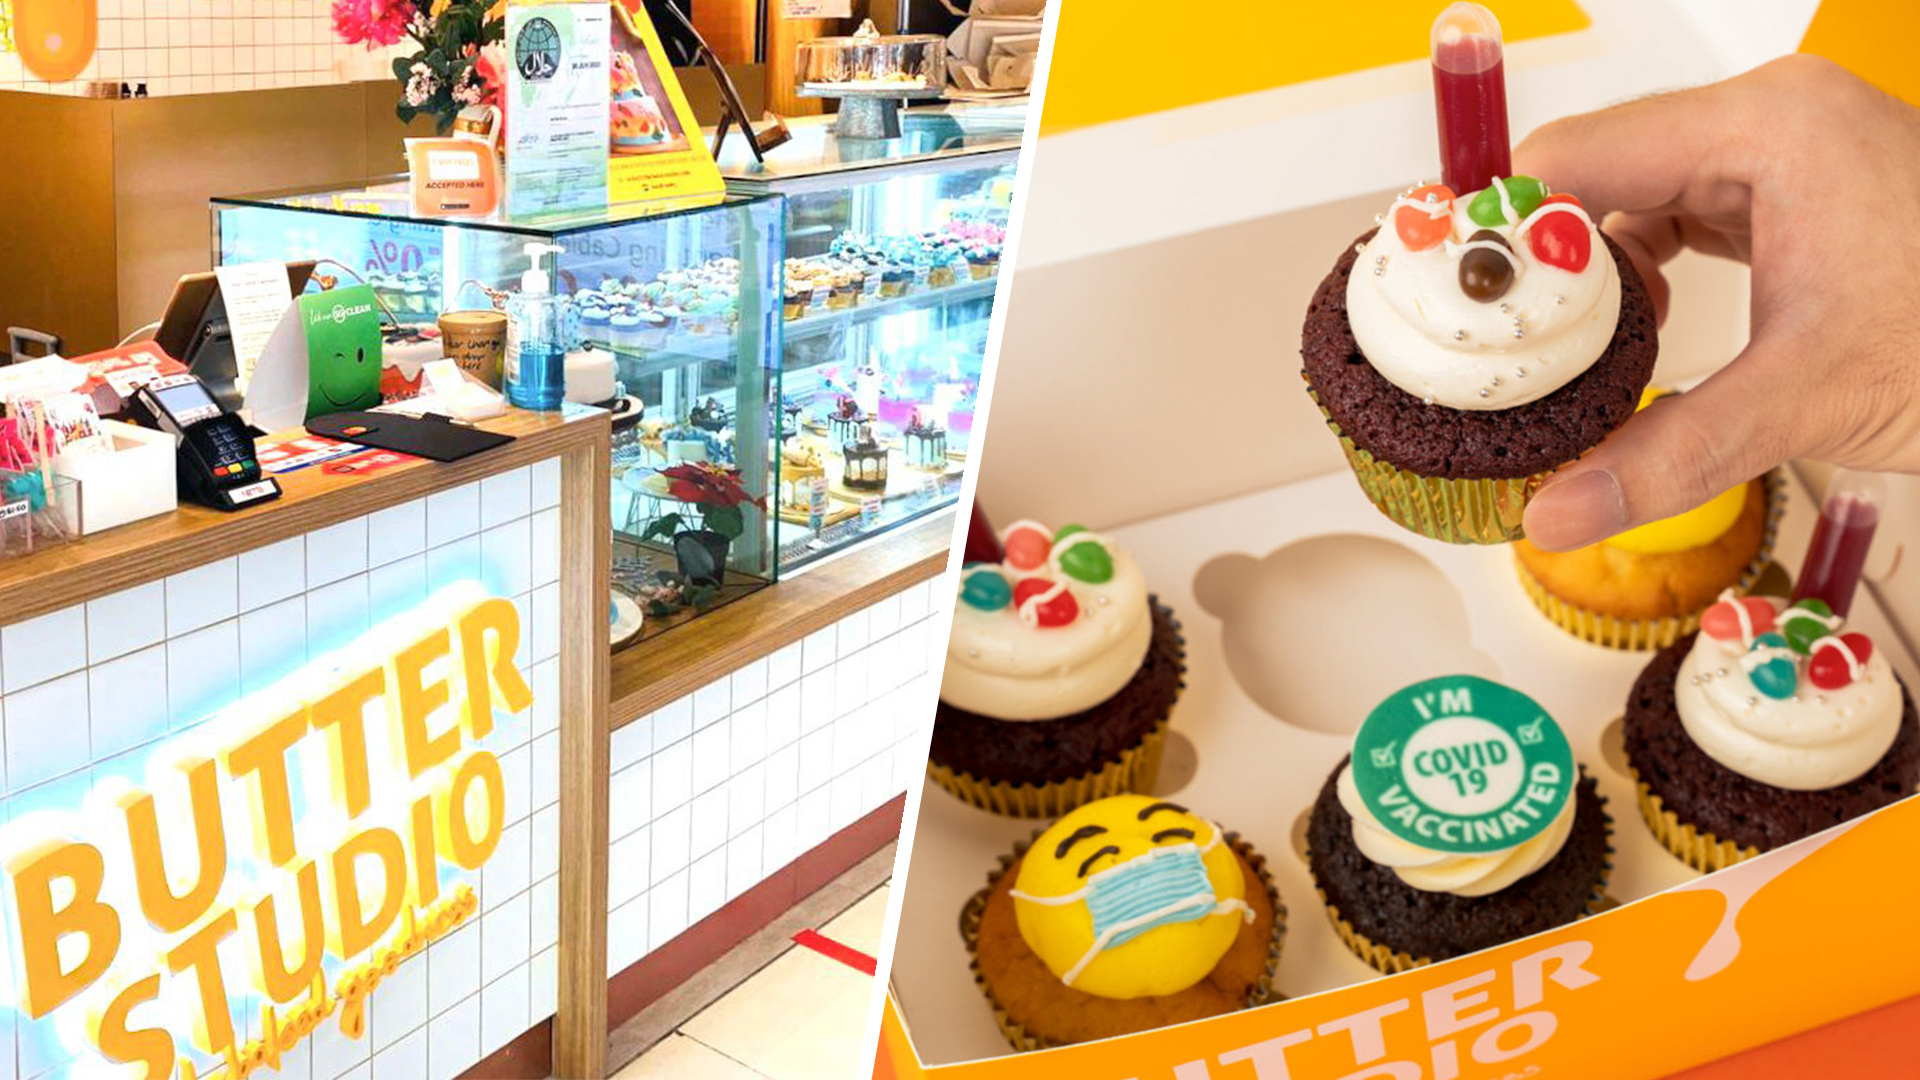
Why not try Butter Studio? We are one of Singapore’s leading bakeries in custom cake designs for all occasions. Our baking techniques and ingredients are halal certified, with a few pre-made designs that are also vegan-friendly! Contact us today for a quote.
In today’s corporate landscape, fostering an inclusive environment goes beyond traditional diversity initiatives. It extends to considering the diverse dietary…
Enjoy the convenience of cake delivery and cupcake delivery in Singapore. Choose your favourite sweet treats from our online store, and we’ll bring them right to your doorstep.